

DIAGNOSE BEFORE EDITING
Find where the quality was lost
The same video can look poor for very different reasons. Check the original locally before adding sharpening, denoising, or a larger export.
Keep native resolution, shape, and frame rate.
Choose enhancement only for compatible softness, compression, or low resolution.
| What you see | Likely source | First action | AI enhancement? |
|---|---|---|---|
| Only the online player looks soft | Adaptive playback or HD processing | Select a higher playback quality or wait for processing | Not yet |
| Squares appear during motion | Low bitrate or repeated compression | Return to the least-compressed copy | Useful if no better source exists |
| Everything is soft at full size | Low capture resolution or missed focus | Separate low resolution from true defocus | Useful for low resolution; limited for defocus |
| Dark areas crawl or flicker | Low-light sensor noise | Reduce noise before sharpening | Check faces and motion closely |
| Edges ring after editing | Too much sharpening | Reduce sharpening and export again | Usually fix the edit first |
| The file glitches or will not play | Damaged or unreadable video | Recover or export a new copy | No |
EIGHT PRACTICAL METHODS
Improve the source before adding more processing
If you need a repeatable answer for how to improve video quality, work in this order. Earlier fixes preserve more real information and cost less than trying to repair damage after several exports.
- Use the original camera or exported master
Downloads from messaging apps and social platforms are often resized and compressed. Compare file dimensions and size before editing the downloaded copy.
- Check playback quality at 100%
Disable low-data playback, select the intended resolution, and let cloud originals download fully. A thumbnail or adaptive stream is not the source file.
- Fix exposure and color before sharpening
Recovering usable shadows and highlights can make detail easier to perceive. Large exposure lifts also reveal noise, so evaluate the moving image after correction.
- Reduce noise before sharpening
Sharpening first can leave outlined grain and unstable texture. Use the lightest noise reduction that calms the footage.
- Export at the native frame rate
Keep 24, 25, 30, 50, or 60 fps when that is how the source was recorded. Unnecessary frame-rate conversion can add duplicated motion or judder.
- Use enough quality for the final export
Resolution alone does not protect quality. Complex motion, grain, water, foliage, and screen detail need more data than a static talking head at the same dimensions.
- Avoid repeated lossy exports
Make one final export from a high-quality editing timeline. Do not send a compressed draft through another app and treat that download as the original.
- Review a matched enhancement example
If the remaining problem is low resolution, compression blocks, or softness, inspect real Before and After examples before changing the complete video.
EXPORT WITHOUT NEW DAMAGE
A larger resolution is only one part of quality
An export can be 1920 × 1080 and still look poor when the source is small, the bitrate is too low, or the file has already been compressed several times.
Keep the frame and timing honest
Preserve the source aspect ratio rather than stretching it into a standard landscape frame. Vertical, square, and ultrawide video should remain vertical, square, or ultrawide. Use the original frame rate unless the workflow has a deliberate conversion step.
Choose resolution for where the video will be used
A clean 720p source can work well at 1080p, while a heavily compressed 360p source may only become a larger version of the same blocks. Use AI video upscaling when you need a larger video, compare basic resizing with enhancement in the video resolution changer, and learn how to fix pixelated video when compression blocks are the main problem.
Inspect the full-size result in motion
Pause on text, faces, hair, repeated lines, and high-contrast edges, then play the same area. Good still-frame sharpness is not enough if texture crawls or detail changes from frame to frame.
If the source is an Apple camera original, follow the iPhone video clarity guide before converting it. If the local file is clear but the uploaded copy is not, diagnose why a YouTube video looks blurry before enhancing the source.
How to improve video quality to 720p
If the source is smaller than 1280 × 720, start with the least-compressed copy and use a moderate upscale rather than stretching a social-media download. If the source is already 720p but looks bad, increasing the resolution label will not fix low bitrate, missed focus, noise, or repeated compression.
Compare video enhancer apps with the same clip
Apps that improve video quality can produce very different motion, skin texture, text, and audio. The best video enhancer for one clip is the one that improves its hardest scene without adding halos, flicker, or invented detail—not the one with the largest advertised output size.
WHAT CANNOT BE RECOVERED EXACTLY
Clarity is not the same as original detail
A responsible workflow distinguishes a cleaner, more legible result from a claim that missing information has been restored.
Severe missed focus, heavy motion blur, blown highlights, crushed shadows, tiny unreadable text, and detail removed by very low bitrate cannot be recovered exactly. AI may create believable texture, but it is not identical to what the camera recorded.
Check your video’s length and resolution locally and keep the untouched original. PixelatedFix publishes real Pro 4K examples for faces, dark motion, and small text, but a completed file is never presented as automatic proof that every source will improve.
REAL BEFORE & AFTER
Compare three different meanings of “better”
Dark motion, portrait detail, and interface text respond differently. Every After is a verified Pro Quality 4K result from the matched five-second Before.
CASE 01
Night traffic: compressed 720p to Pro 4K
A real nighttime street clip enhanced to 4K with Pro Quality. Compare moving vehicles, road markings, small lights, and dark building edges.
- Before
- 1280 × 720
- After
- 3840 × 2160
- Quality
- Pro Quality · 4K
- Look at
- Moving vehicles, road markings, and small lights
Verified Pro Quality result · Same five-second input · Processing record checked
Night upscaling case

Web playback rendition derived from the verified Pro 4K output. Review focus: Moving vehicles, road markings, and small lights.
CASE 02
Real portrait: compressed 720p to Pro 4K
A real outdoor close-up enhanced to 4K with Pro Quality. Inspect skin texture, facial edges, eyelashes, and the softly focused background.
- Before
- 1280 × 720
- After
- 3840 × 2160
- Quality
- Pro Quality · 4K
- Look at
- Skin texture, facial edges, and eyelashes
Verified Pro Quality result · Same five-second input · Processing record checked
Portrait upscaling case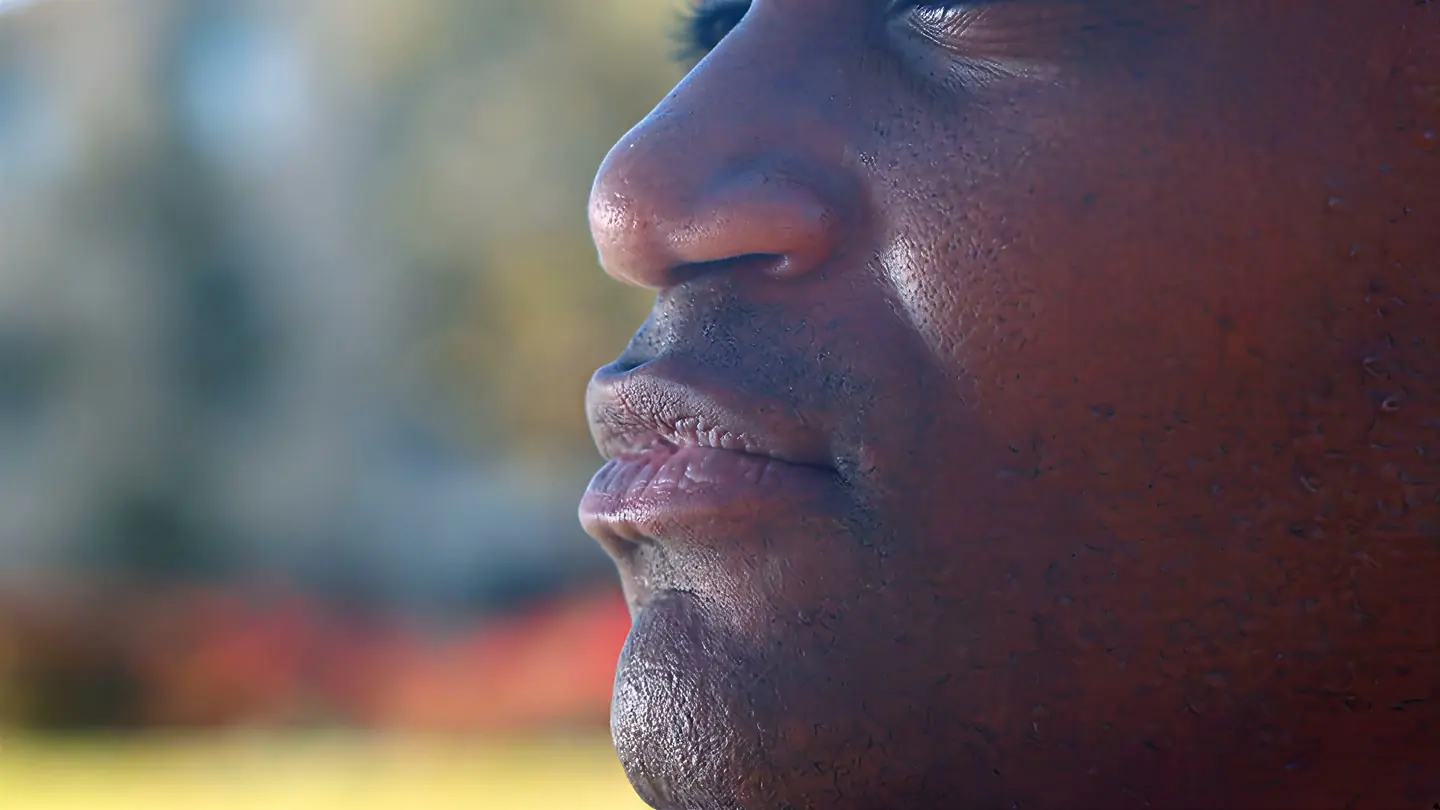
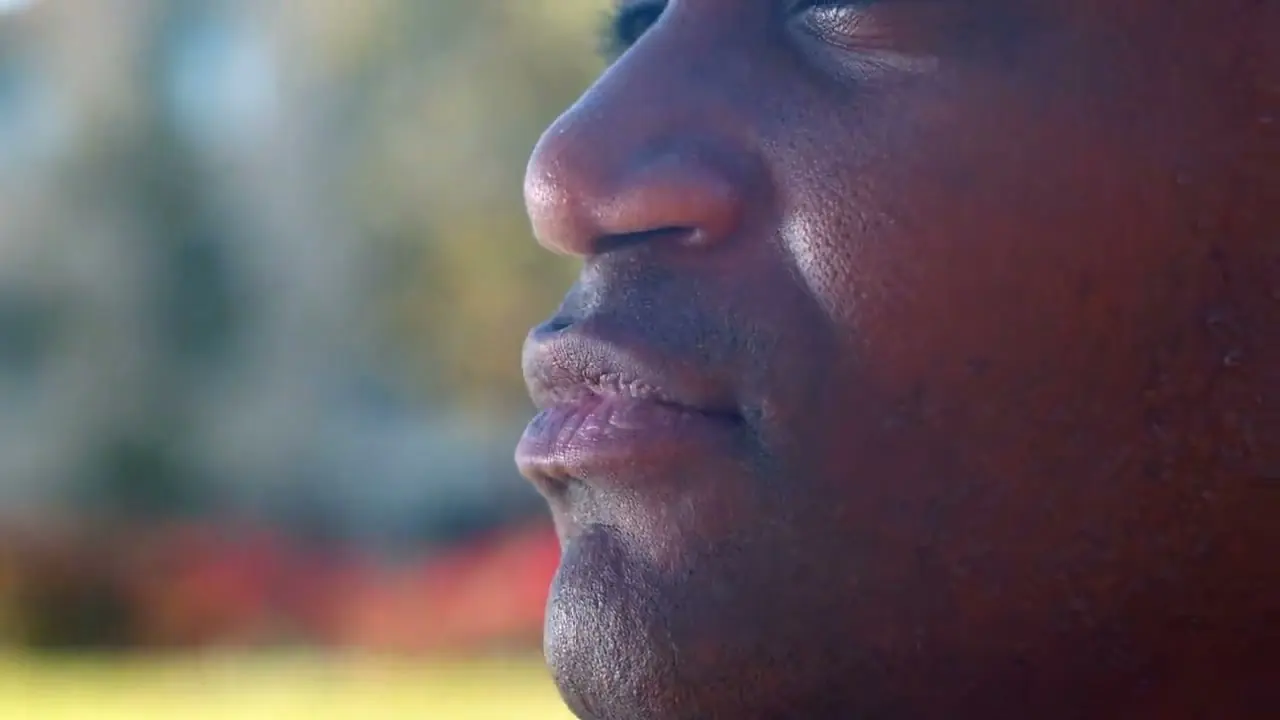
Web playback rendition derived from the verified Pro 4K output. Review focus: Skin texture, facial edges, and eyelashes.
CASE 03
Interface text: compressed 720p to Pro 4K
A deliberately low-bitrate interface recording enhanced to 4K with Pro Quality. Compare text strokes, thin borders, and the moving shape.
- Before
- 1280 × 720
- After
- 3840 × 2160
- Quality
- Pro Quality · 4K
- Look at
- Small text, thin borders, and UI edges
Verified Pro Quality result · Same five-second input · Processing record checked
Interface upscaling case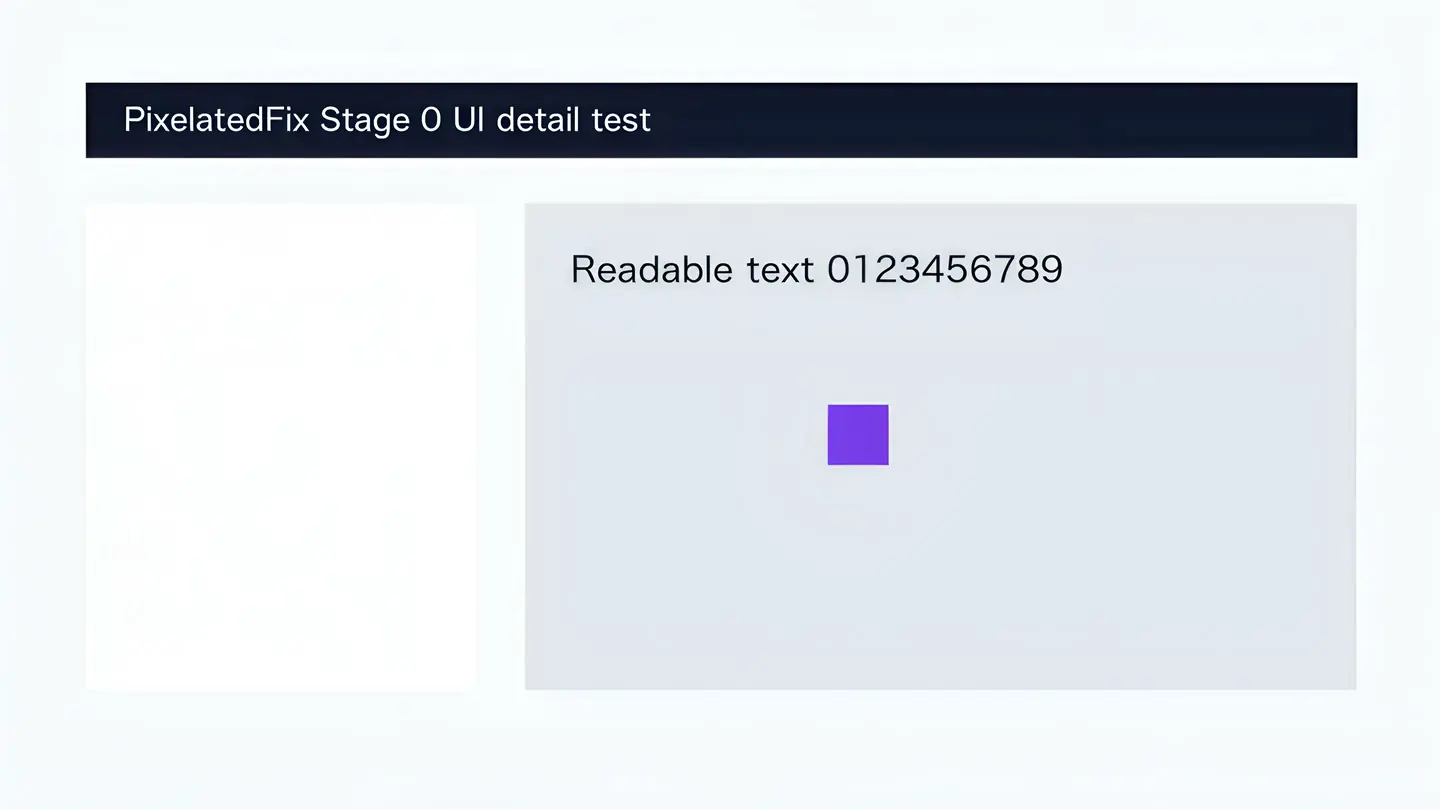
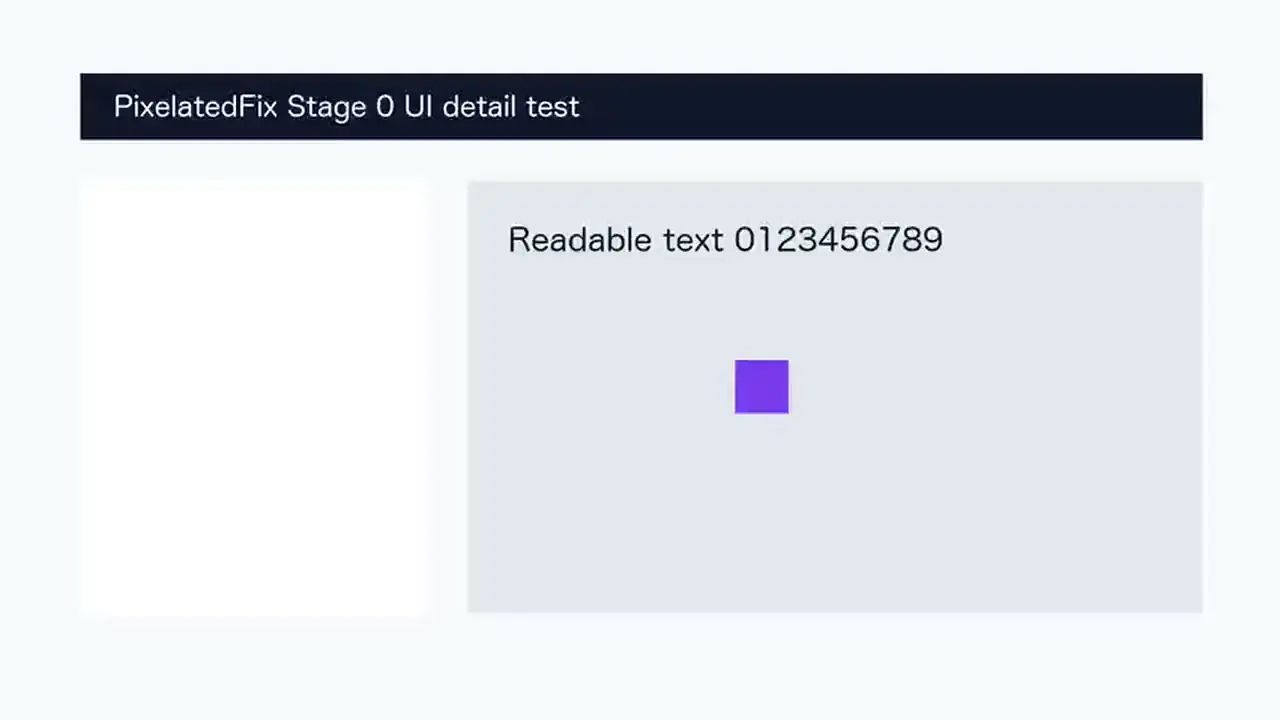
Web playback rendition derived from the verified Pro 4K output. Review focus: Small text, thin borders, and UI edges.