

GRAIN OR SOMETHING ELSE?
Identify the texture before removing it
Zoom to 100%, then play the clip. The way the pattern changes between frames is more useful than the appearance of one still.
Fine random texture changes from frame to frame, often in low light.
Square regions or enlarged pixels appear around motion and edges.
| Pattern | Likely cause | What not to do | First test |
|---|---|---|---|
| Fine random movement in dark areas | Low light or an underexposed recording | Sharpen before reducing noise | Gentle video noise reduction |
| Colored speckles in shadows | Color noise from low light | Brighten shadows aggressively | Reduce colored speckles first |
| Large squares during motion | Blocky compression | Treat it as camera grain | Find a less-compressed source |
| Bright outlines around texture | Too much sharpening | Add more smoothing to hide outlines | Reduce sharpening in the edit |
| Consistent organic texture | Film grain or creative overlay | Erase it automatically | Confirm the creative intent |
| Soft moving patches on skin | Too much noise reduction | Increase smoothing | Restore detail or lower the strength |
REDUCE GRAIN WITHOUT WAXY MOTION
Use a restrained order of operations
To fix grainy video without waxy motion, aim for stable, believable texture—not the smoothest possible paused frame.
- Return to the original capture
Messaging and social copies can combine noise with block compression. Start before those encodes whenever possible.
- Correct exposure before final noise reduction
Set the brightness and color where you want them so you can judge the noise in the finished look.
- Reduce colored speckles first
Colored noise can often be reduced more strongly than natural light-and-dark texture without making faces look plastic.
- Add only enough smoothing
Compare nearby frames around hands, hair, eyes, and moving fabric. Stop when details trail or pulse.
- Use sharpening after noise reduction
Apply restrained edge contrast to the cleaned result. Sharpening raw noise turns the unwanted pattern into prominent detail.
- Review the export at normal speed and full size
Check dark areas, skin, fine lines, and motion. A still frame cannot reveal temporal smearing.
PREVENT GRAIN AT CAPTURE
More light preserves more reliable detail
Post-processing is easier when the camera records a stronger signal before compression.
Add light before raising ISO
Use a window, practical light, LED panel, or a wider aperture where the scene allows. Raising ISO amplifies the signal and the sensor noise together.
Choose frame rate for the available light
High frame rates require shorter exposure time for each frame. If slow motion is not needed, a lower recorded frame rate may give each frame more light on supported devices.
Expose important faces and textures correctly
Severely underexposed footage needs large shadow lifts later, revealing noise and banding. Protect highlights, but do not leave the main subject unnecessarily dark.
Keep a high-quality master
Grain is difficult to compress. A low-bitrate export can turn fine noise into moving blocks, combining two different video problems.
HONEST PRODUCT LIMIT
Review low-light enhancement before trusting it
The night-scene example is a real processed result, but one example does not prove that every grainy video will improve.
Review the real Before and After examples before enhancing a grainy video. Results vary across cameras, lighting, skin tones, and motion, so PixelatedFix does not promise the same amount of noise reduction for every clip.
Compare the enhanced example with the original at the same timing and crop. Reject a result that removes grain but also removes facial detail, text strokes, or moving texture.
REAL BEFORE & AFTER
Compare dark detail, skin texture, and fine edges
The night scene, real portrait, and flower detail reveal different smoothing risks. All three After videos are verified Pro Quality 4K results.
CASE 01
Night traffic: compressed 720p to Pro 4K
A real nighttime street clip enhanced to 4K with Pro Quality. Compare moving vehicles, road markings, small lights, and dark building edges.
- Before
- 1280 × 720
- After
- 3840 × 2160
- Quality
- Pro Quality · 4K
- Look at
- Moving vehicles, road markings, and small lights
Verified Pro Quality result · Same five-second input · Processing record checked
Night upscaling case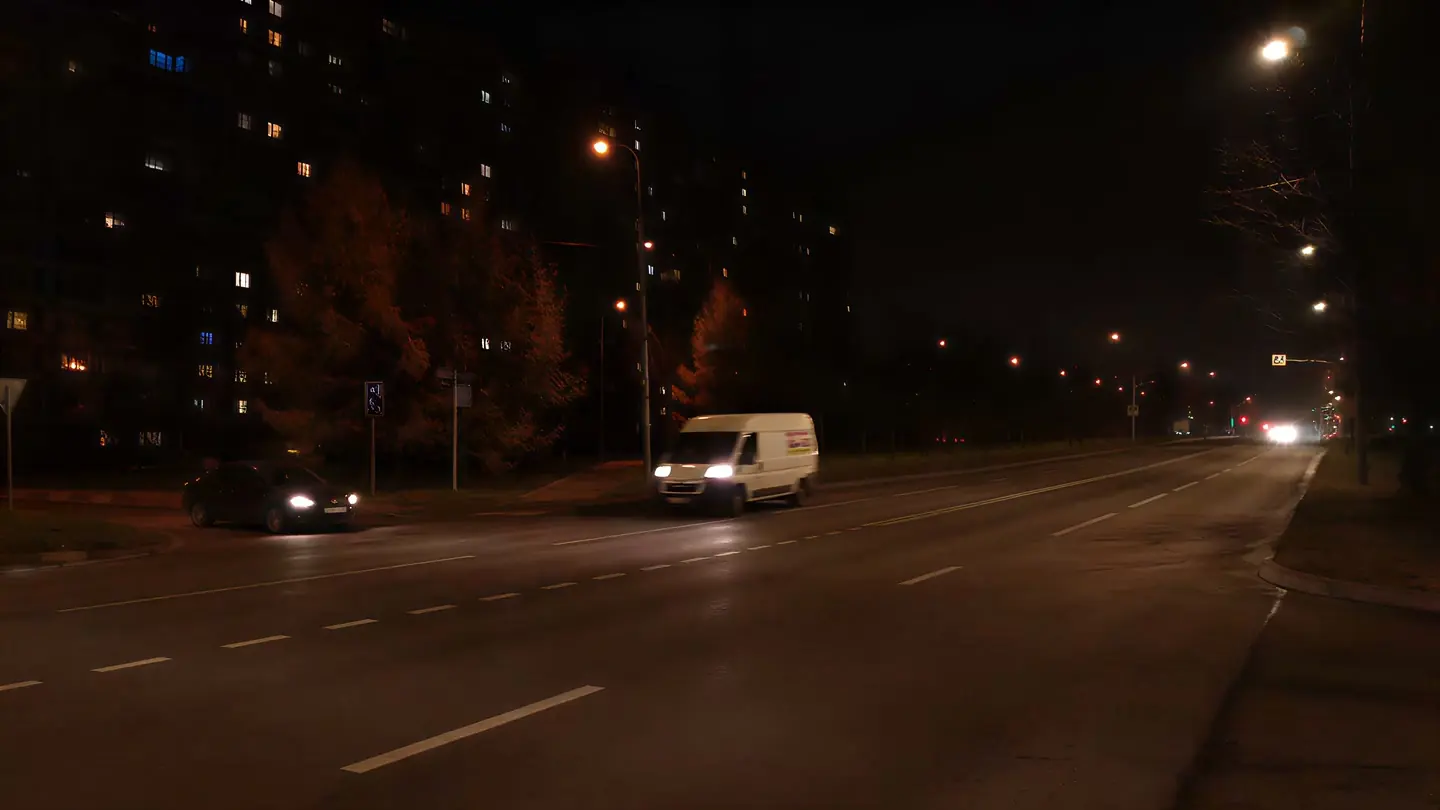
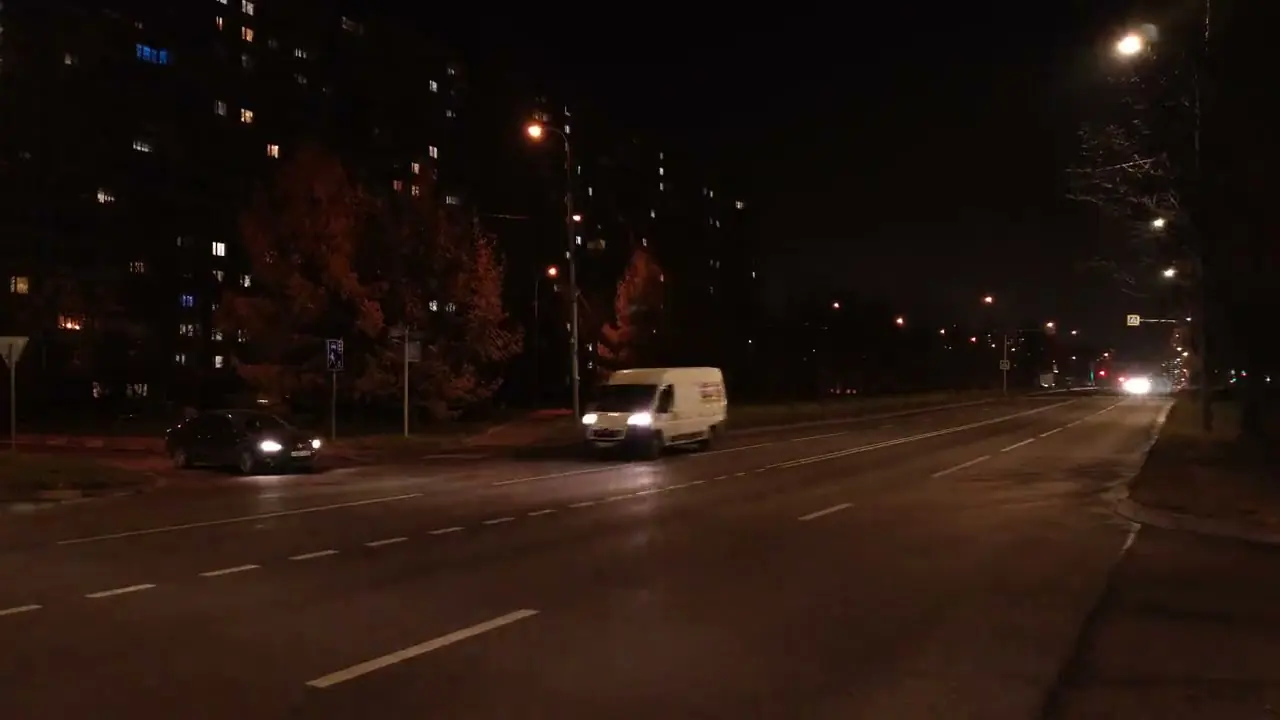
Web playback rendition derived from the verified Pro 4K output. Review focus: Moving vehicles, road markings, and small lights.
CASE 02
Real portrait: compressed 720p to Pro 4K
A real outdoor close-up enhanced to 4K with Pro Quality. Inspect skin texture, facial edges, eyelashes, and the softly focused background.
- Before
- 1280 × 720
- After
- 3840 × 2160
- Quality
- Pro Quality · 4K
- Look at
- Skin texture, facial edges, and eyelashes
Verified Pro Quality result · Same five-second input · Processing record checked
Portrait upscaling case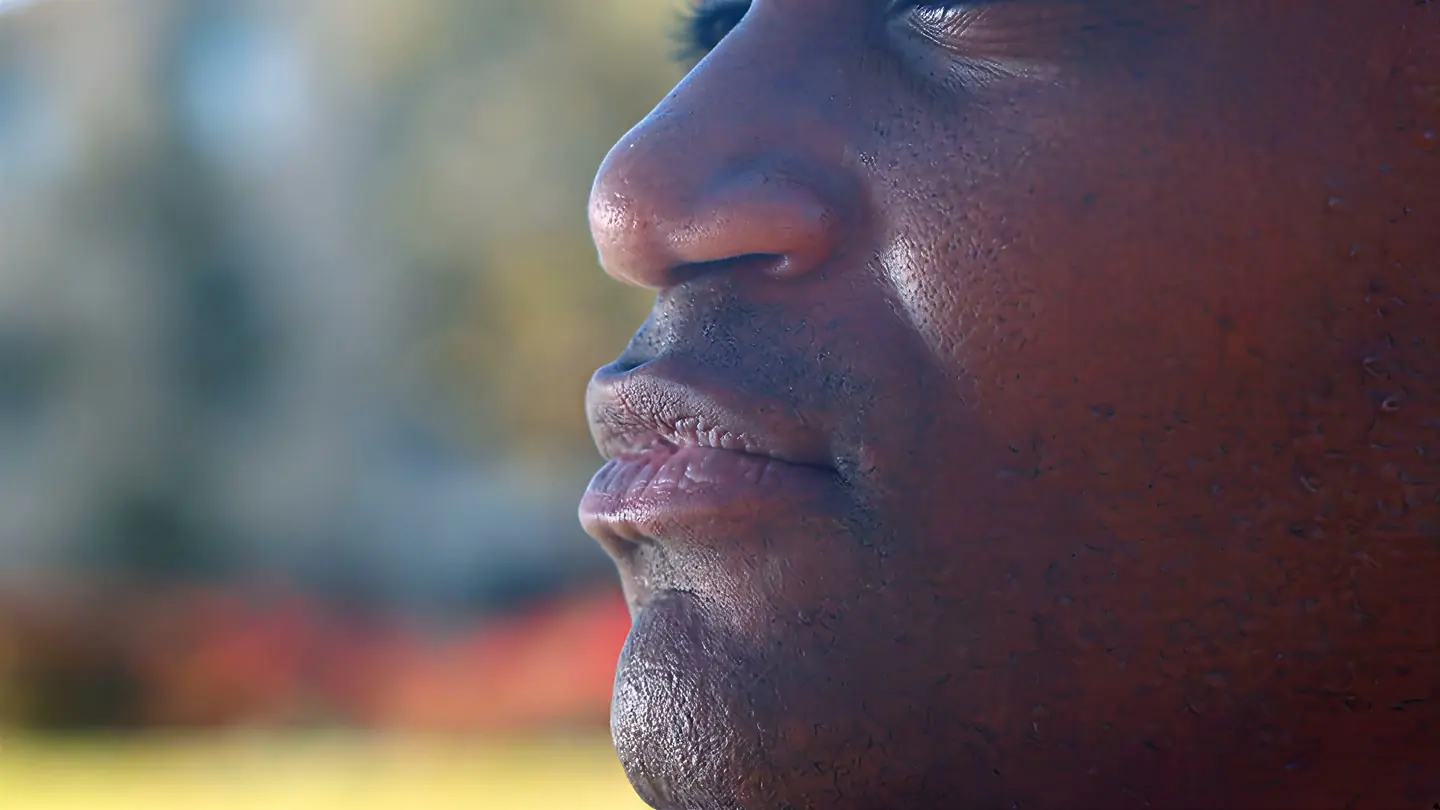
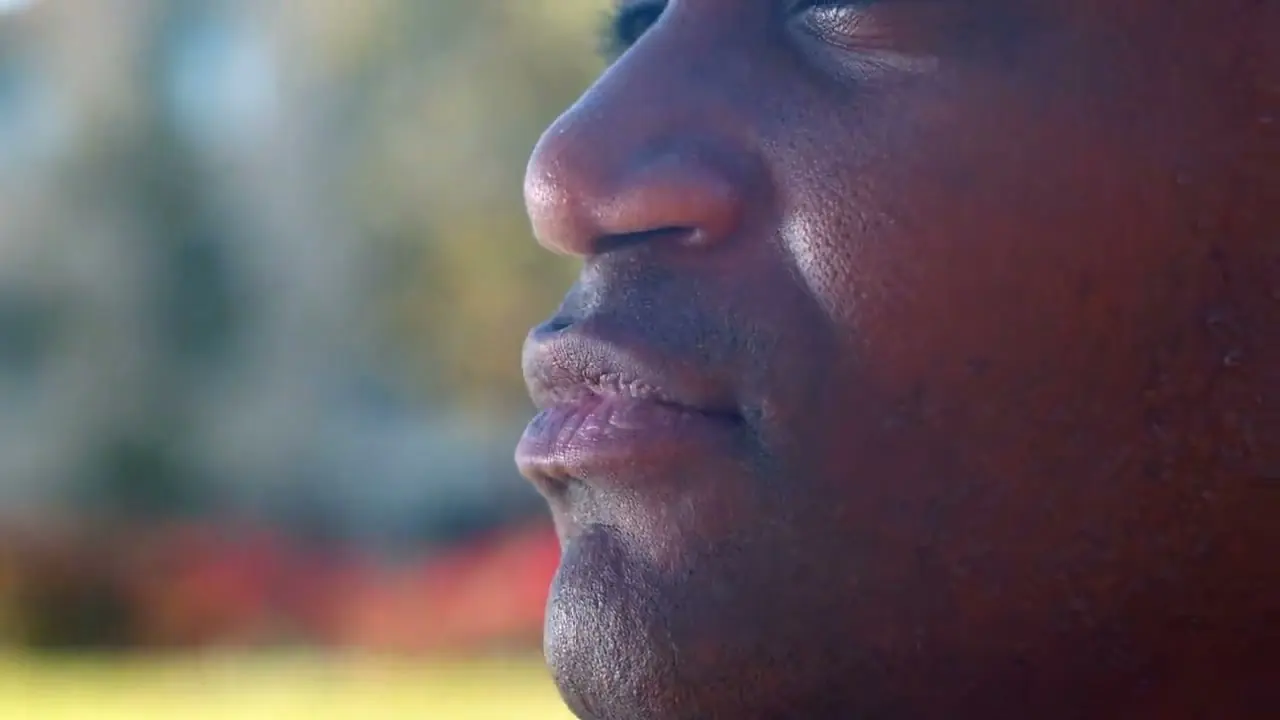
Web playback rendition derived from the verified Pro 4K output. Review focus: Skin texture, facial edges, and eyelashes.
CASE 03
Flower detail: compressed 720p to Pro 4K
A real five-second flower clip enhanced to 4K with Pro Quality. Compare the red petals, purple leaf edges, and fine texture in the same frames.
- Before
- 1280 × 720
- After
- 3840 × 2160
- Quality
- Pro Quality · 4K
- Look at
- Petals, leaf edges, and texture
Verified Pro Quality result · Same five-second input · Processing record checked
Flower video case

Web playback rendition derived from the verified Pro 4K output. Review focus: Petals, leaf edges, and texture.